

Intro
Here’s the truth.
I’m a busy mum to a 2 year old. I feel like I often have little-to-no time to be more eco-friendly. At the same time I have been increasingly unhappy with single-use kitchen spray cleaners and their impact on the planet.
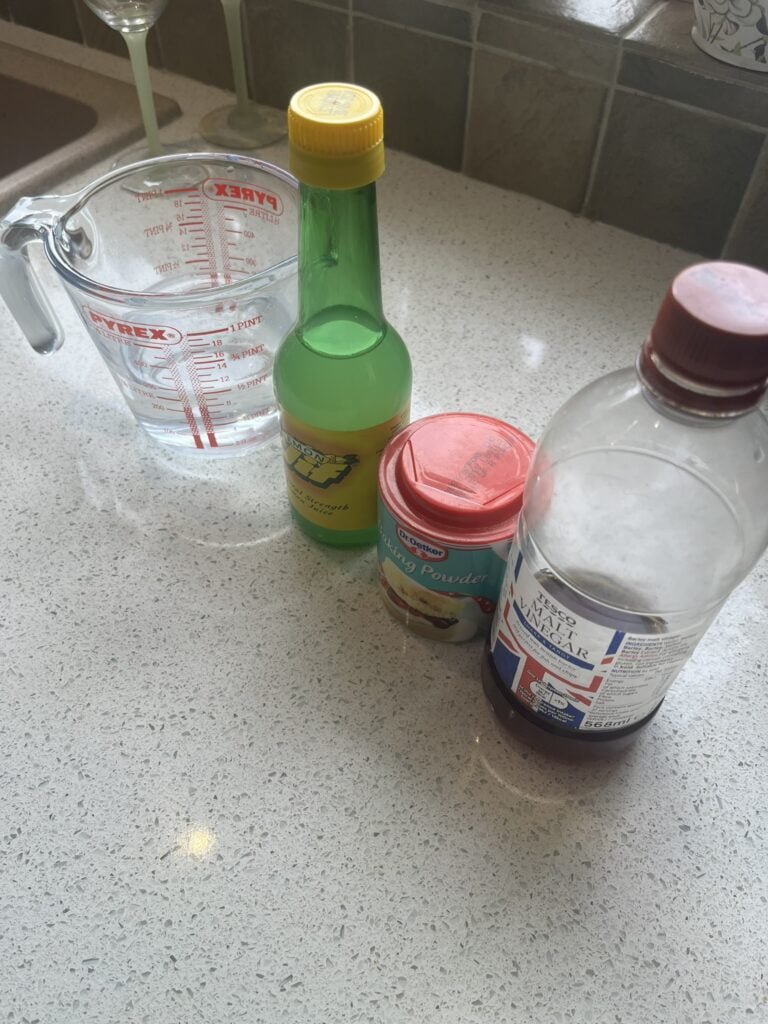
So I did a bit of research to see if I could make my own green cleaner to keep my kitchen looking spotless. The result was I made my own DIY kitchen cleaner with 3 ingredients vinegar, baking soda, lemon juice and water then put it to the test!
Disclaimer: This article may have affiliate links to products mentioned throughout. If you were to purchase a product, I may make a small commission from the sale which supports this blog. Read my privacy and disclosure policy pages for details.
Key takeaways:
- DIY Kitchen cleaner is very easy to make.
- It requires 3 simple ingredients vinegar, baking soda and water.
- This type of cleaner cuts through grease and limescale.
- Traditional cleaners are bad for the environment and your health.
Quick Links
Why Go DIY?
Making my own cleaner using vinegar, baking soda, and water provides an eco-friendly cleaning solution that is safe, effective, and non-toxic. By utilizing natural cleaning ingredients, such as vinegar and baking soda, I’m creating a greener, healthier home environment.
Additionally, choosing homemade cleaner over commercial products reduces exposure to harsh chemicals, making it a safer option, especially for my household of a toddler and little dog.
Budget-friendly nature of DIY cleaners makes cleaning with vinegar and baking soda an attractive alternative to purchasing expensive traditional brands.

Gathering Your Ingredients
Each ingredient plays a crucial role in the cleaning process, ensuring that your homemade cleaner tackles grease, limescale, and ingrained dirt effectively.
Bottle Preparation
To begin, thoroughly clean the spray bottle with warm, soapy water, ensuring all residue is removed.
Next, rinse the bottle with water and allow it to air dry completely.
Once dry, carefully label the bottle to avoid any confusion with other household cleaners. Remember, using a previously labeled bottle may cause unintended chemical reactions.
Additionally, take care to remove any old labels or adhesives to prevent contamination. By repurposing a spray bottle, we contribute to reducing plastic waste and environmental impact, making our cleaning routine more eco-conscious and sustainable.

The Recipe: How to Mix Your Cleaner

Step 1.
Measure 1 cup of white vinegar and pour it into a jug.
Step 2.
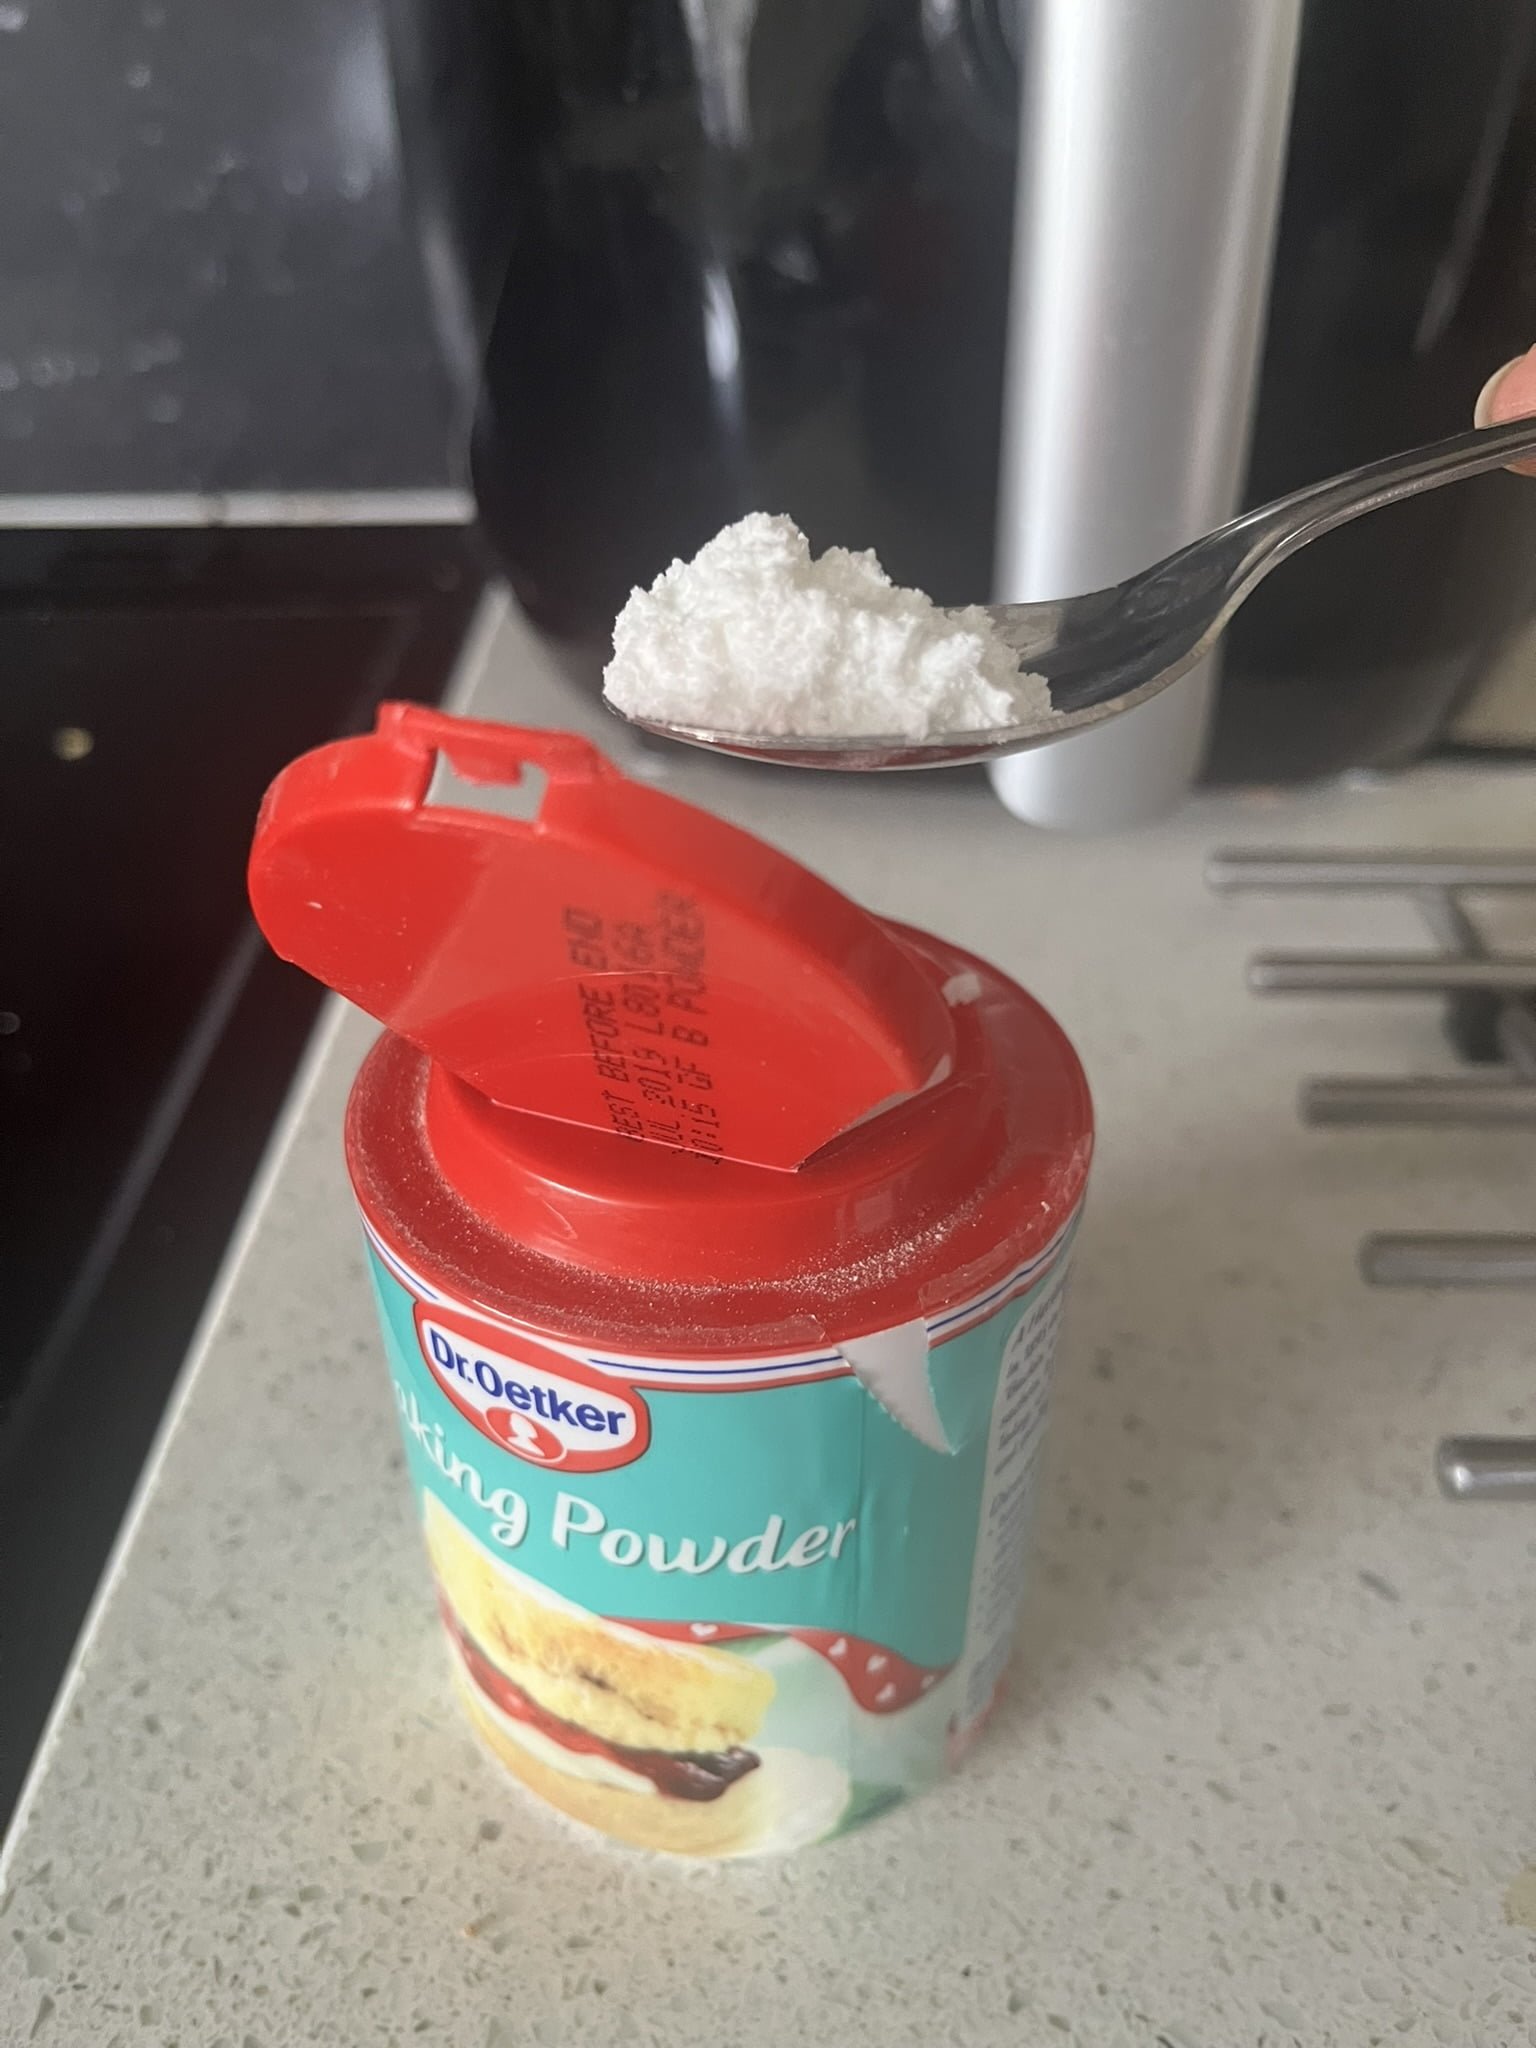
Add 2 tablespoons of baking soda to the vinegar. Be prepared for it to fizz and bubble—this is normal!
Step 3.
Add 1 tablespoon of lemon juice to the mixture and stir.
Step 4.
Gradually pour in 1 cup of water while stirring the mixture to ensure everything is well combined.
Step 5.

Continue to stir until the baking soda dissolves completely.
Step 6.
Transfer the mixture into a clean, empty spray bottle for easy application.
Step 7.
Label the bottle with the contents and date for future reference.
Materials: Baking soda or powder Vinegar Lemon juice Water Jug Spoon
Test 1: Grease Combat
After repurposing an old spray bottle, I tested the solution on stubborn kitchen grease. Generously applying the cleaner to the greasy surface, I let it sit for at least a minute, allowing the natural ingredients to work their magic.
The results were impressive as the cleaner effectively dissolved the grease, leaving the surface clean and residue-free. It was a satisfying demonstration of the eco-friendly and budget-friendly power of DIY kitchen cleaners.
The cleaner’s success in combating kitchen grease highlighted its potential as a safe and effective alternative to commercial products, affirming the value of using natural cleaning ingredients like vinegar and baking soda.

Test 2: Limescale Vanquish
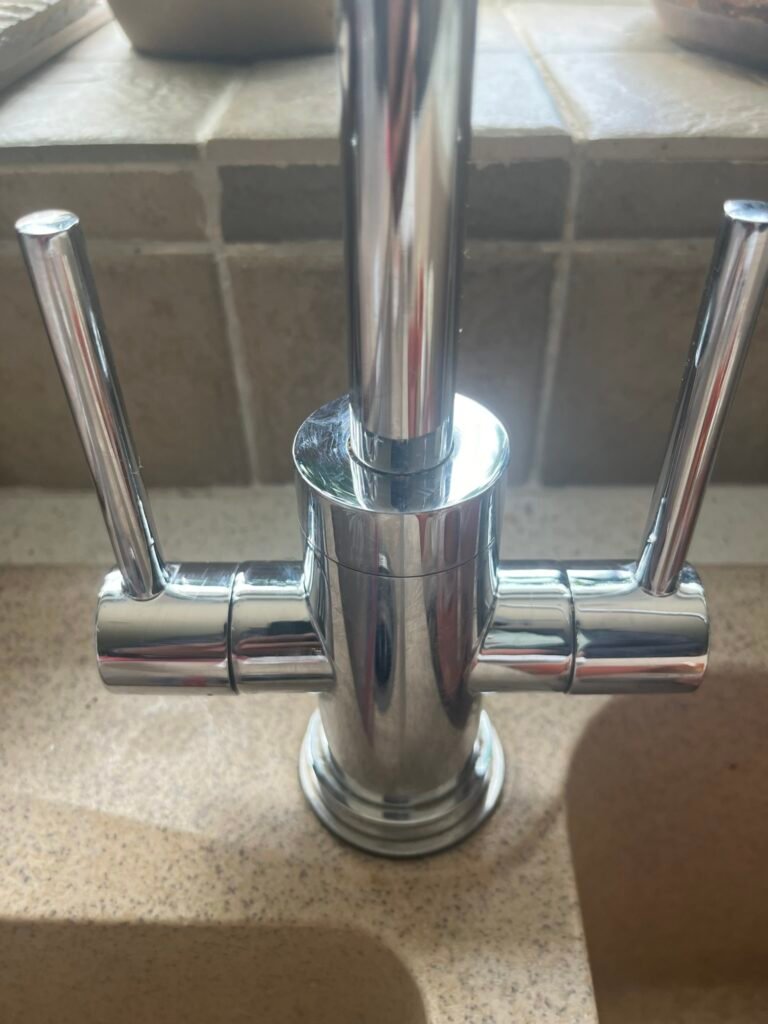
The solution needed to be left for at least 1 minute. After this short wait, I rinsed the area to reveal remarkable results. The limescale was effectively vanquished, leaving the taps sparkling clean.
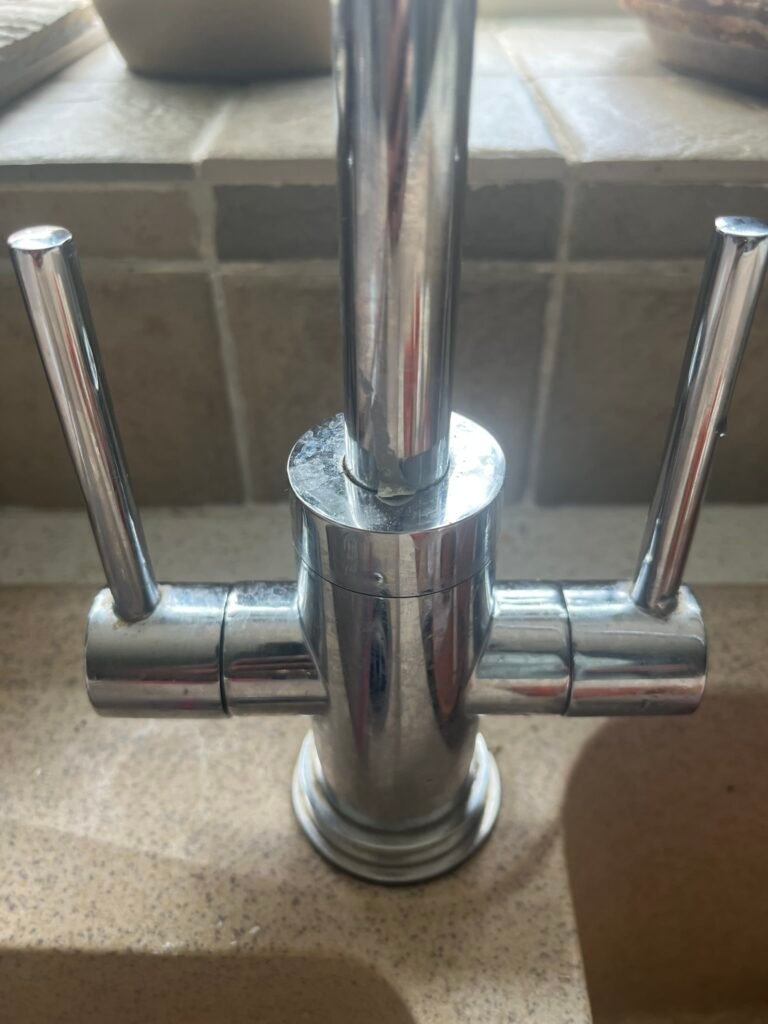
This eco-friendly and natural kitchen cleaner proved highly effective in removing the stubborn limescale, showcasing its prowess in tackling tough kitchen cleaning tasks.
Test 3: General Dirt and Grime
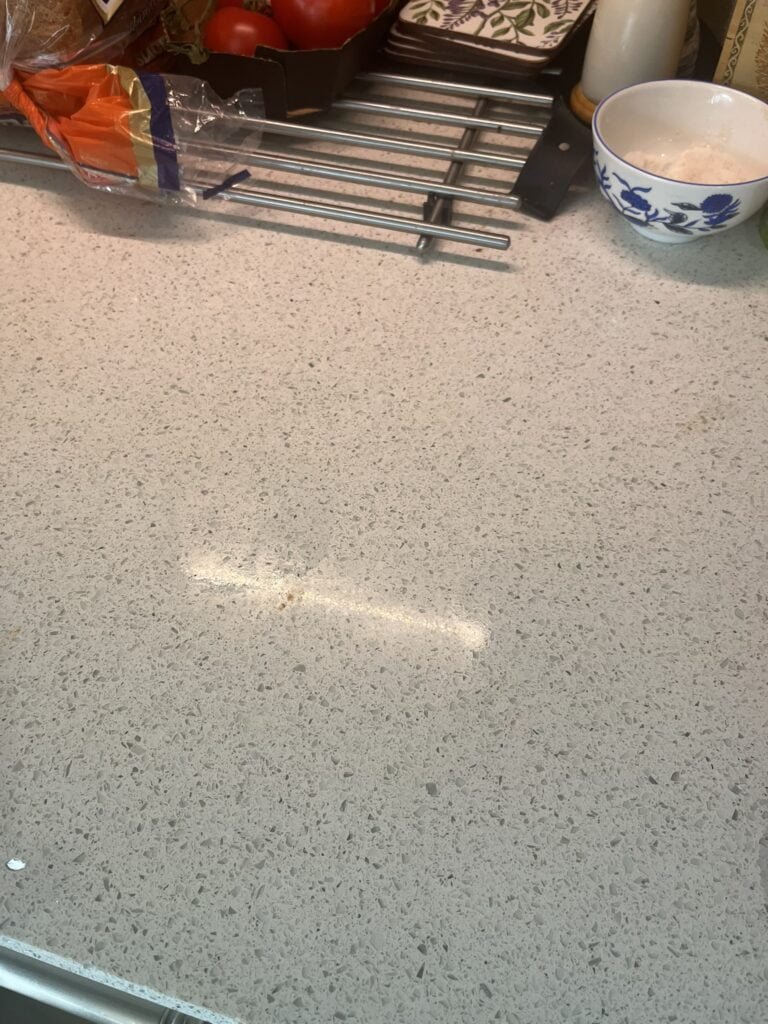
Applying the cleaner onto the affected areas on the floor and countertop, I made sure to let it sit for at least 1 min, allowing it to work its magic.
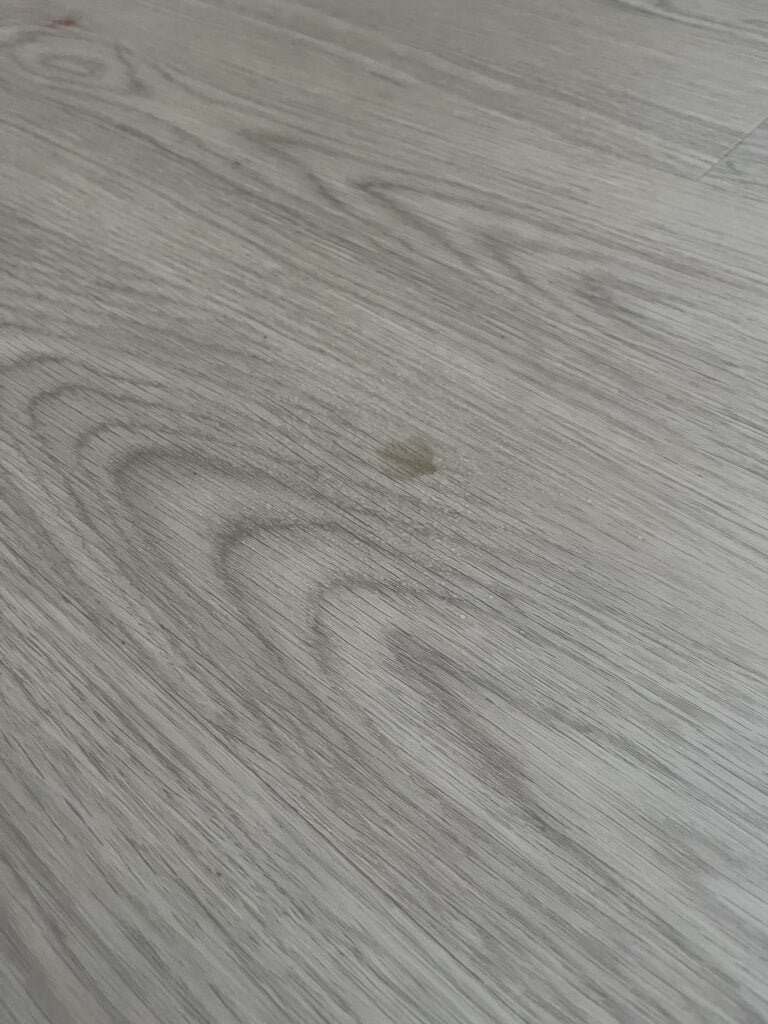
The cleaner proved its effectiveness once again as it effortlessly lifted the food residues and grime, leaving the surfaces noticeably cleaner. It was impressive to see the natural ingredients working together to tackle the stubborn dirt.
The natural kitchen cleaner not only removed the visible dirt but also left a refreshing feel in the cleaned areas. Its non-toxic nature provided peace of mind, knowing that my kitchen was both clean and safe for my family.
Overall Results
This DIY cleaner has certainly proven itself worthy in the battle against kitchen dirt and grime. I was happy how well it cleaned through grease, dirt and grime. It clean limed scale quiet well but I needed to give the taps a further polish with a dry tea towel to make it shine. Overall I’m very happy!
Safety and Precautions
I would avoid using the cleaner on delicate surfaces, especially those sensitive to acidic solutions like marble or untreated wood.
To test for any adverse reactions, I applied a small amount of the cleaner to an inconspicuous area and observe for any discoloration or damage.
Additionally, it’s crucial to avoid mixing homemade cleaners with commercial products, as this can lead to hazardous chemical reactions. So that’s why i thougroughly washed the bottle out before adding my DIY cleaner.
I don’t have particularly sensitive hands but if you do then consider using gloves to protect your skin. Lastly, I store the homemade cleaner in a clearly labeled, child-safe container, and keep it out of reach of my daughter to prevent accidental ingestion or misuse.
Comparing to Commercial Cleaners
The homemade cleaner I made was crafted from simple and natural ingredients like vinegar, baking soda, and water, proved to be an efficient grease cleaner, limescale remover, and overall dirt combatant.
It demonstrated impressive performance in tackling tough kitchen grime and stains without the use of harsh chemicals, showcasing its effectiveness as a non-toxic kitchen cleaner.
In terms of cost, the homemade cleaner stands out as an incredibly budget-friendly solution. The affordability of these eco cleaning solutions can make a significant impact on household expenses while promoting sustainability through the repurposing of old spray bottles and the use of environmentally friendly ingredients.
Overall, the comparison underscores the value of choosing a DIY kitchen cleaner, not only for its cleaning ability but also for its cost-effectiveness and positive environmental impact, making it a compelling choice for eco-conscious and budget-savvy families seeking effective, sustainable cleaning solutions for their kitchens.
Your Turn: Tips for Success
Tips for Success: When using your DIY kitchen cleaner, consider storing it in a cool, dark place to maintain its effectiveness. Label the spray bottle with the ingredients and date to track its shelf life.
Additionally, you can customize the cleaner by adding a few drops of essential oils for a pleasant fragrance or by adjusting the vinegar-to-water ratio for specific cleaning needs.
Remember, experimentation is key, so feel free to tweak the recipe and share your feedback for further improvement. Happy cleaning!
The Final Sparkle
The natural cleaning ingredients, vinegar, lemon juice, baking soda and water, worked wonders in tackling the grease, limescale, and ingrained dirt in my kitchen. Even though initially switching seem tricky, trust me it wasn’t!
I was happy I could get a decent clean without the need for harsh chemicals. As the non-toxic nature of this homemade cleaner ensured my kitchen stayed clean without compromising on safety of my daughter and dog.
Give this cleaner a try by making and using this eco-friendly cleaner, you not only contribute to a sustainable environment but also avoid the exposure to harmful substances present in traditional commercial cleaners.
Give it a try and let me know how you get on in our Zero Waste Forum and Zero-Waste Family Hub.
Want more Sustainable Living Tips/ Reviews?
Yellow Eco Egg Laundry Solution: My Personal Journey
Switching to Eco Egg: A Green Laundry Routine
White Eco Egg: Revolutionizing My Family’s Laundry Practices
Let’s Connect
Want to level up your sustainability game? Then take our Sustainable Living Quiz to learn more about your sustainable living habits!
Let me know how you and your family are creating an Eco Friendly Lifestyle in our Zero Waste Forum and Zero-Waste Family Hub.
Leave a Reply